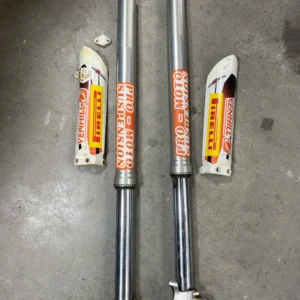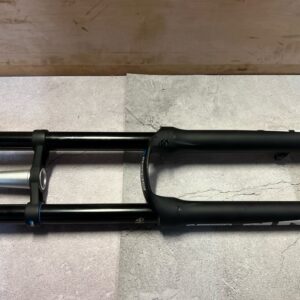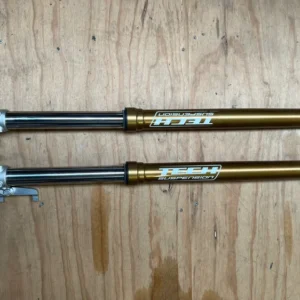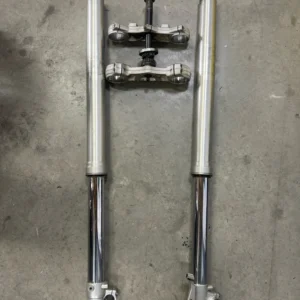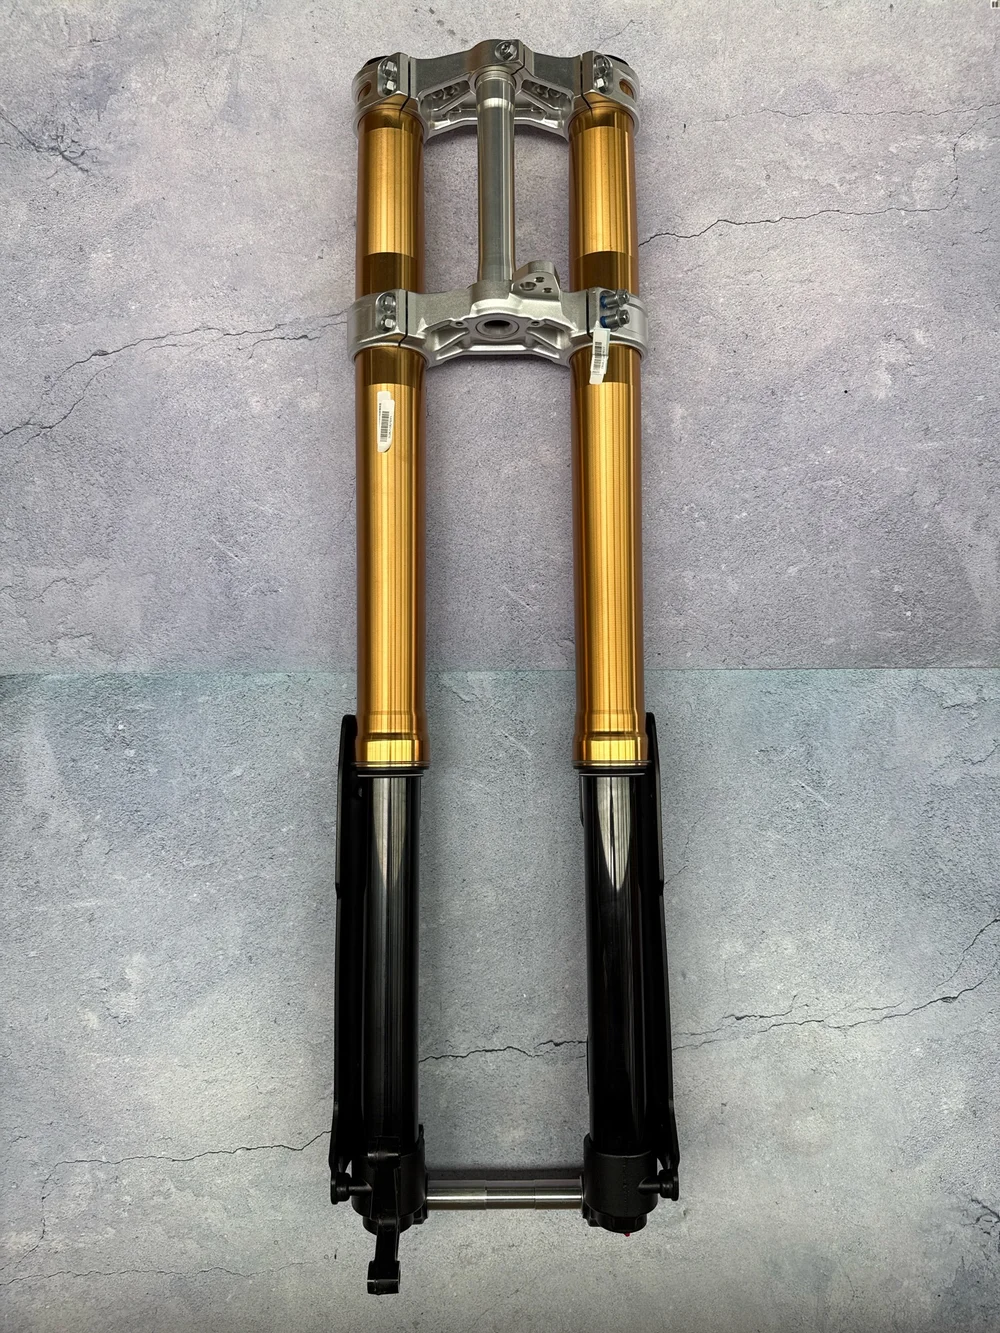
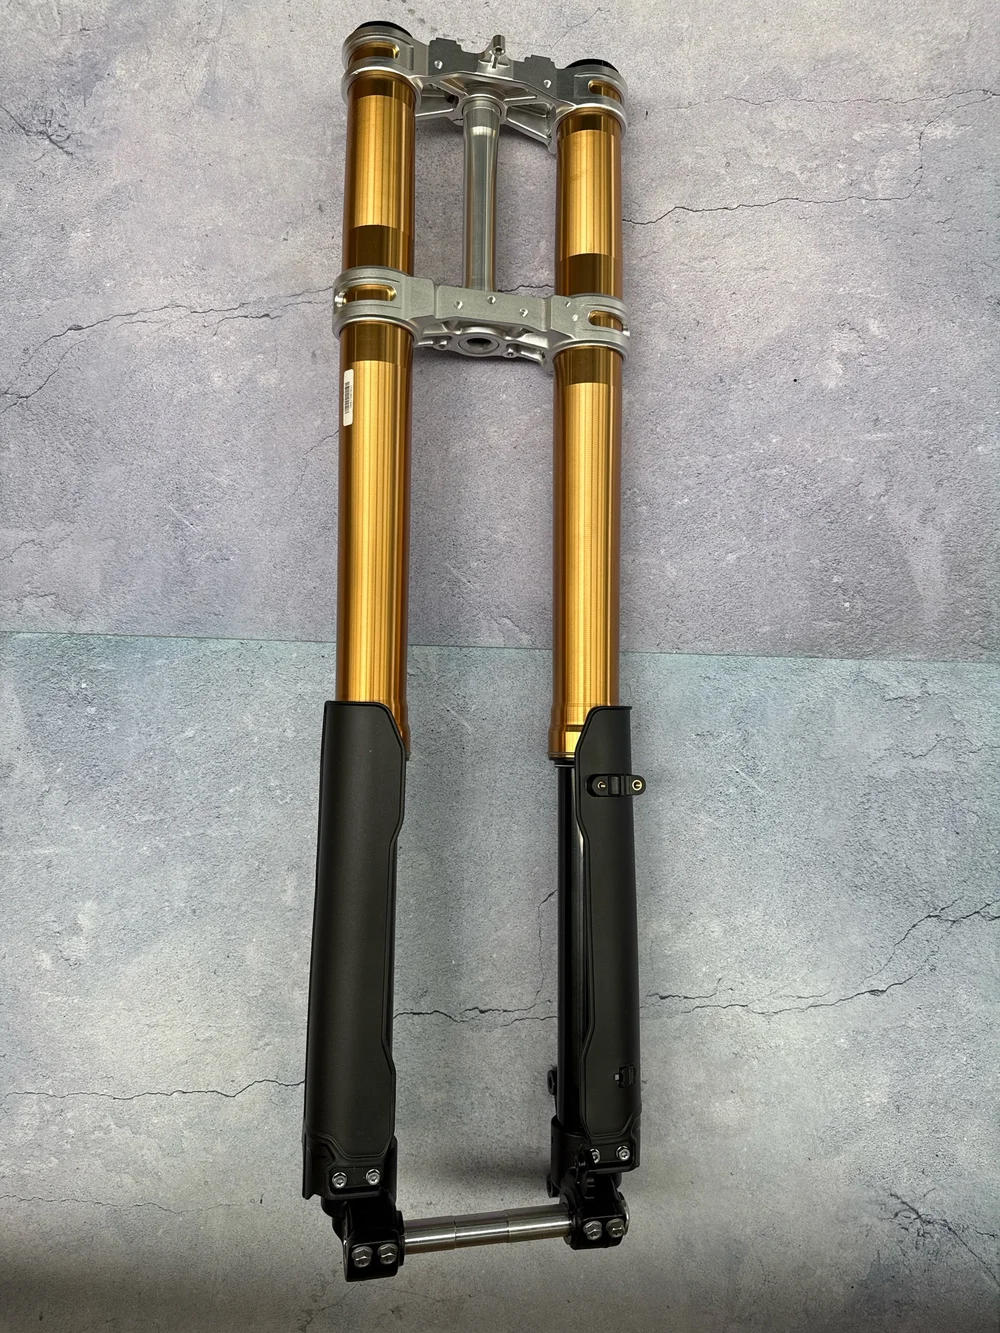
The Talaria Komodo’s fork assembly 2026 stands out as a pinnacle of electric dirt bike engineering, featuring a dual-chamber front fork with 43mm tubes and an impressive 250mm travel distance. Designed for aggressive off-road adventures, this suspension system delivers superior damping, stability, and control on rugged terrains, making it ideal for enthusiasts upgrading their Talaria Komodo TL6000 electric moto 2026.
Key Fork Specifications
Talaria Komodo fork assembly 2026 specs include an 850mm overall length, optimized for the bike’s forged alloy chassis and 21-inch front wheel setup. The dual-chamber design enhances air-cooled performance, absorbing shocks from high-speed jumps and rocky trails while maintaining precise steering with a >45° angle. Paired with hydraulic disc brakes and 315mm ground clearance, it supports a max load of 160kg, ensuring reliability for riders tackling extreme conditions.
-
43mm diameter tubes for rigidity and reduced flex.
-
250mm travel to handle 350-450cc-equivalent power outputs.
-
Compatible with CST 70/100-21 or Maxxis 80/100-21 tires.
Step-by-Step Installation Process
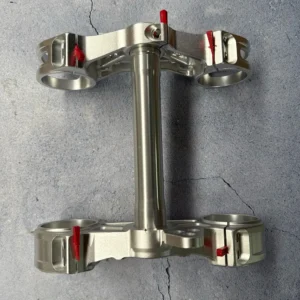
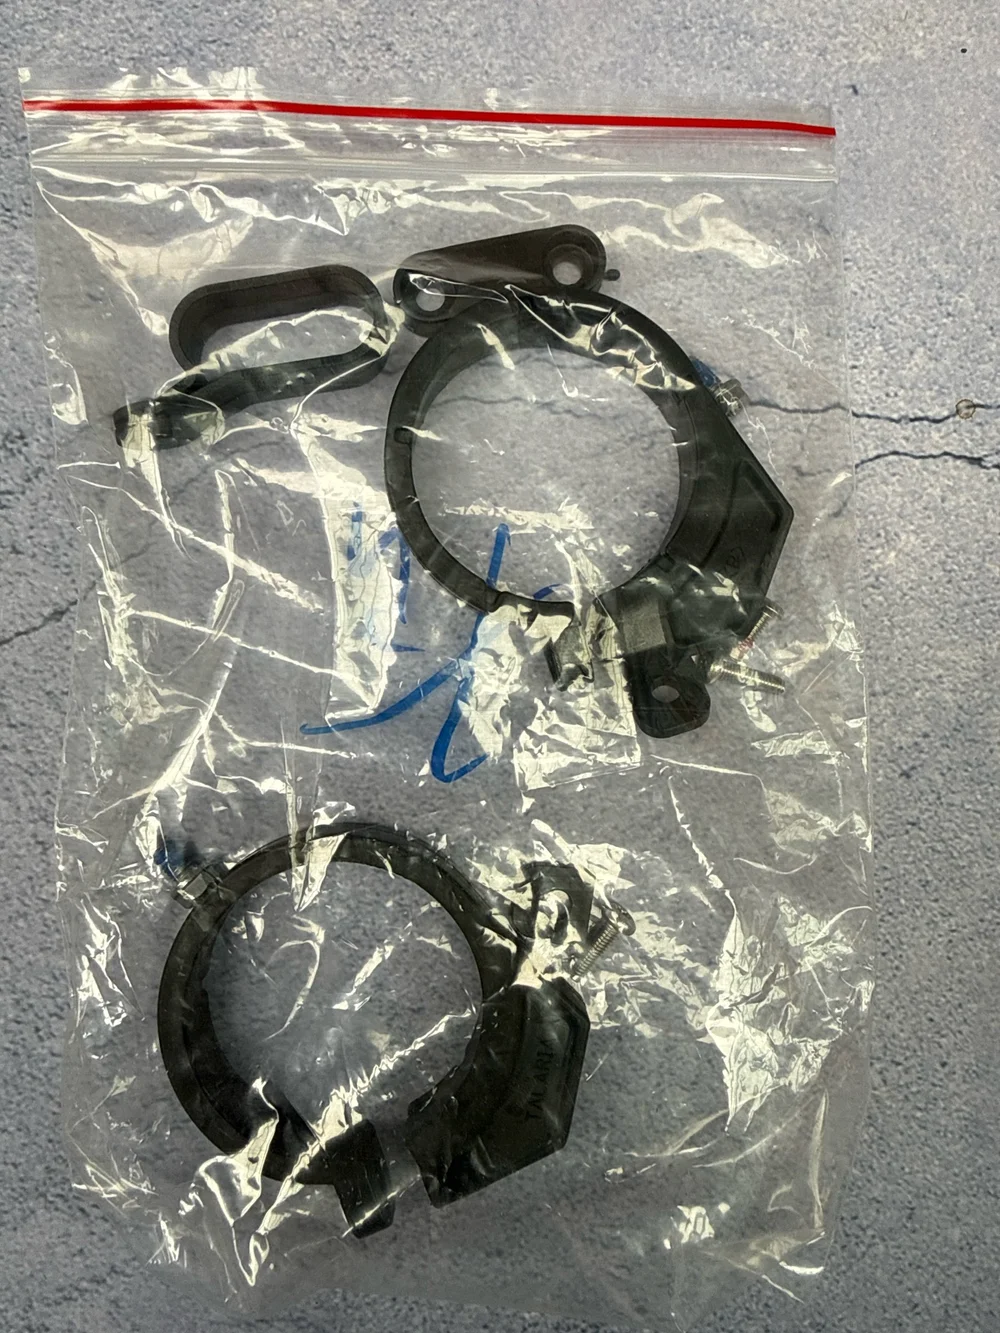
Upgrading or assembling the Talaria Komodo fork 2026 requires basic garage tools like sockets, hammers, and Allen keys. Start by removing the handlebar bolts and loosening the stem pinch bolts to detach the old fork; support it to avoid drops. Cut any zip ties on new forks, then slide the legs through the upper and lower crowns, securing with three pinch bolts per side—tighten firmly to factory specs.
Talaria Komodo fork assembly 2026 premium 43mm dual-chamber front forks with 250mm travel for superior off-road control. Upgrade your electric dirt bike’s suspension for stability, damping, and thrilling performance on rugged trails.
Next, insert the steerer tube through the head tube, routing wires carefully to prevent pinching. Tap the fork legs evenly into place using a socket and hammer for a secure fit, then reinstall the stem spacer and top cap. Double-check alignments: straighten the stem, torque all bolts (especially the tight factory ones), and test for smooth travel.